Late 2013 MacBook Pro review: audio
▼ No more bottlenecks: the late 2013 MacBook Pro reviewed
Over the next few days, I'll publish my review of the new 13" MacBook Pro here in several installments. This is the fourth one, looking at the MacBook Pro's audio capabilities. Also see the earlier instalments about battery life, CPU performance and ports and networking
Don't worry, I'll be discussing the high-resolution screen soon enough. But first let's listen to the audio. The late 2013 13" MacBook Pro has three slits along both sides, starting at the front and reaching about two thirds towards the back. The slits are somewhat hidden where the side and bottom meet. I assume they're mostly there to suck in air, that is then directed out the back under the hinge. But they also let most of the sound out from the two speakers that sit right along those slits. The built-in speakers provide clear, bright audio with a modest, but workable amount of bass—more than what the MacBook Air can muster. The maximum volume is also a few ticks higher. It's certainly good enough for some casual listening at your desk.
When the optical drive was excised from the MacBook Pro line, it took the audio line in port with it. Arguably, this was a fairly useless port anyway, as you couldn't use it to connect a microphone. The headphone port on the other hand, does support microphones though the a fourth signal line, just like the iPhone. But it has another trick up its sleeve: optical audio out. With a special plug that connects to a TOSlink cable you can transmit digital sound to an amplifier with a digital input. This is how we played back DVDs with surround sound back in the day—the DVD Player application can send the digitally encoded 5.1 surround signal over the optical cable, and the receiver decodes it.
However, these days the sound is typically transmitted alongside video through an HDMI cable. The new MacBook Pro has an HDMI port and can also connect to HDMI with the right cable over its Thunderbolt/miniDisplayPort ports. You can change audio settings, including audio output over HDMI, in the Audio MIDI Setup program.
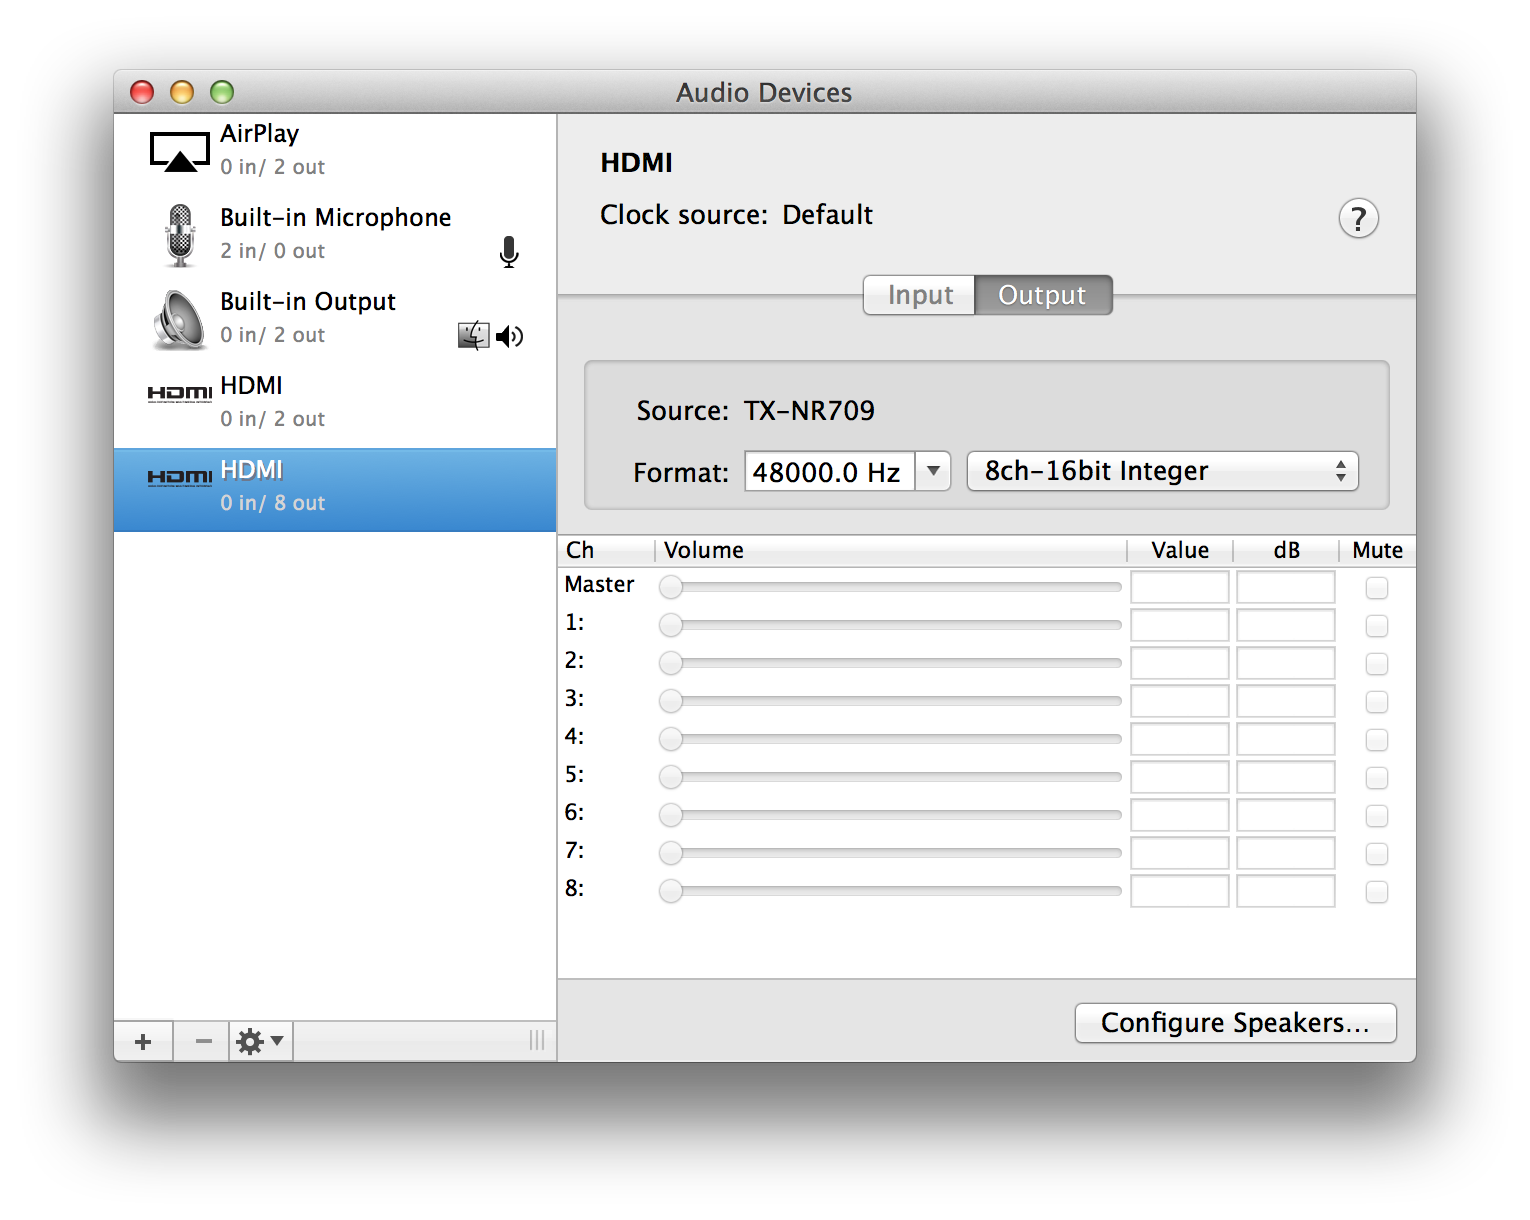
Like an optical TOSlink connection, HDMI can carry compressed/encoded digital surround sound. But unlike an optical TOSlink connection, HDMI can also carry 5.1 or even 7.1 channel uncompressed, decoded audio. If you have a receiver/amplifier or TV that can accept this many channels. You'll encounter video with 5.1 (rarely 7.1) surround sound in two main flavors: Dolby Digital AC3 and MPEG4 AAC. There's also DTS and a few higher end Dolby/DTS variants. It's also possible for video files to have multiple audio tracks. For instance, many TV shows from the iTunes store have an AC3 surround track and a AAC stereo track.
For playing back videos with AC3 and DTS surround audio tracks, your best bet is to use VLC and tell it to use HDMI (encoded output) as the audio device. This way, the audio data is sent to the surround receiver as-is, and all the channels will go to the right speakers. When I let VLC decode the audio itself and just use "HDMI" as the audio device, the audio gets sent to the wrong speakers.
Alternatively, use an Apple TV to play them. This also works for videos from the iTunes Store, which VLC can't play because they're protected. You can of course play those in iTunes, but then you once again get audio sent to the wrong speakers or you only get stereo audio.
Interestingly, iTunes can decode videos with 5.1 surround sound in AAC format, and both iTunes and VLC send the channels to the right speakers. But for AAC you can't use encoded audio output, even though I'm pretty sure modern surround receivers have no problem decoding it. The Apple TV, on the other hand, will decode AAC surround sound, but then send the result to a receiver or TV as stereo, defeating the purpose of having 5.1 audio.
Permalink - posted 2013-11-08

